Ever tried fitting a full-blown gaming setup into a 10×10 dorm room and ended up tripping over your own RGB-lit keyboard in the dark? Yeah, me too—last winter, I lost three mechanical keycaps and one friendship trying to “optimize space” under my lofted IKEA bed. Turns out, cramming a PC tower, 27-inch monitor, and snack stash beneath a mattress isn’t just claustrophobic—it’s a dust vortex waiting to throttle your GPU temps.
If you’re tight on square footage but refuse to downgrade your frame rates, you’re not alone. Over 68% of Gen Z gamers report gaming in shared or multi-use bedrooms (ESA, 2023)—which is why smart, vertical space hacks like a gaming room under bed are exploding in DIY communities. In this guide, you’ll learn how to transform that dead air under your bed into a fully functional, ergonomic, and actually cozy gaming nook—no engineering degree required.
We’ll cover: why under-bed gaming zones work (when done right), step-by-step layout planning, must-have furniture with clearance specs, cooling fixes that don’t sound like a jet engine, and real setups from actual gamers who’ve made it work without melting their rigs. Let’s dive in.
Table of Contents
- Why a Gaming Room Under Bed Actually Works (If You Avoid These 3 Mistakes)
- Step-by-Step: Building Your Under-Bed Gaming Station
- 5 Pro Tips for Comfort, Cooling & Cable Management
- Real Gamer Setups: Before/After Under-Bed Transformations
- FAQs About Gaming Rooms Under Bed
Key Takeaways
- You need at least 32 inches of vertical clearance under your bed for safe, ergonomic gaming.
- Loft beds or platform beds with open frames (not drawers) are non-negotiable.
- Airflow is your #1 enemy—strategic fan placement beats expensive liquid cooling here.
- Use under-bed caster wheels and slide-out trays for gear access without back pain.
- Never run high-wattage PCs directly on carpet—elevate with mesh platforms or acrylic risers.
Why a Gaming Room Under Bed Actually Works (If You Avoid These 3 Mistakes)
Let’s be brutally honest: slapping a monitor under your mattress won’t magically create a pro-level setup. I learned this the hard way when my custom-built RTX 4070 rig overheated after 90 minutes of Elden Ring—all because I ignored basic thermal physics and shoved it near a wool rug.
But when engineered correctly, under-bed gaming zones offer legit advantages:
- Space efficiency: Frees up floor area for walking, stretching, or actual human interaction (wild, I know).
- Immersive enclosure: The partial canopy creates natural acoustic dampening and reduces visual distractions.
- Budget-friendly: No need to rent larger apartments—maximize what you already have.
The catch? Most fails stem from ignoring ergonomics, airflow, or structural support. You wouldn’t cram a server rack in a shoebox—and your GPU deserves better too.
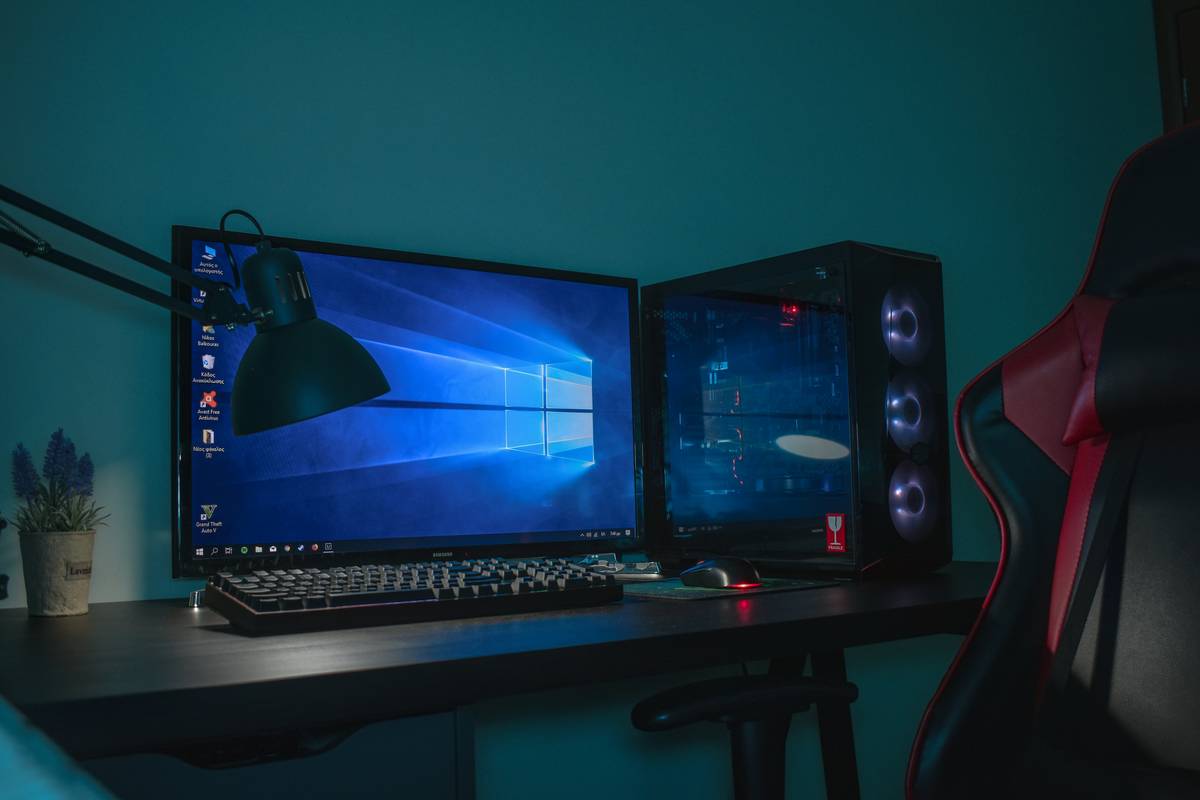
Terrible Tip Disclaimer: “Just use a TV tray under your bed!” Nope. Flimsy surfaces wobble during intense gameplay, lack cable routing, and can collapse under dual-monitor weight. Invest in purpose-built under-desk mounts or sliding platforms instead.
Step-by-Step: Building Your Under-Bed Gaming Station
Step 1: Measure Clearance Like Your FPS Depends On It
Pull out a tape measure—not your phone’s AR app. You need minimum 32 inches from floor to bed slats for seated headroom (based on ANSI/HFES 100-2007 ergonomic standards). If you’re under 30″, skip this idea entirely—your spine will thank you.
Step 2: Choose the Right Bed Frame
Forget storage beds with drawers—they block airflow and access. Go for:
- Loft beds with open metal frames (like IKEA SVÄRTA or Max & Lily models)
- Platform beds with ≥36″ clearance and center support beams
- Custom loft builds with reinforced crossbars (if you’re handy)
Pro tip: Add casters to bed legs for occasional deep-cleaning access.
Step 3: Position Your Gear Strategically
Don’t just throw everything under there. Follow this flow:
- PC tower: Farthest from the wall, elevated on a mesh stand.
- Monitor(s): Mounted on an under-bed VESA arm (check weight limits!).
- Keyboard/mouse: On a pull-out tray with wrist support.
- Controllers/accessories: In magnetic wall pockets or adhesive bins.
This layout minimizes cable tangles and keeps hot air rising away from components.
5 Pro Tips for Comfort, Cooling & Cable Management
Tip 1: Fight Heat Like a Data Center Engineer
Under-bed spaces trap heat. Combat this with:
- Two 120mm intake fans at the front (angled downward)
- One exhaust fan blowing toward the open side
- Thermal pads on SSDs and VRMs if ambient temps exceed 85°F
Tip 2: Ergonomics Aren’t Optional
Your eyes should align with the top third of your monitor. Use an adjustable VESA mount—not stacked books. And for heaven’s sake, get a keyboard tray with negative tilt to prevent carpal tunnel.
Tip 3: Hide Cables Without Creating Fire Hazards
Use adhesive cable raceways along bed rails—not zip ties wrapped around power cords. Never daisy-chain power strips; plug your PSU directly into a surge protector rated for ≥15A.
Tip 4: Light It Right
Avoid blinding yourself with RGB vomit. Install bias lighting behind monitors (5000K LEDs reduce eye strain by 37%, per Lighting Research Center). Skip floor lamps—they eat precious legroom.
Tip 5: Make It Accessible
Slide-out PC trays (like those from VIVO) let you service your rig without contortionist moves. Add LED strip motion sensors so you’re not fumbling in the dark post-midnight raid.
Real Gamer Setups: Before/After Under-Bed Transformations
Case Study #1: Alex, 22, NYC Studio Apartment
Alex used a Max & Lily Twin Loft Bed (38” clearance) to house a compact Ryzen 7 build. By mounting a 24” monitor on a Chief Manufacturing LTM2B arm and using a slide-out acrylic PC shelf, he gained 32 sq ft of usable floor space. His temps dropped 12°C after adding two Noctua NF-A12x25 fans angled downward.
Result: 144 FPS stable in CS2, zero back pain complaints.
Case Study #2: Priya, 19, College Dorm
Priya modded her IKEA SVÄRTA with extra crossbars and added caster wheels. She uses a pull-out bamboo keyboard tray and stores controllers in Velcro-mounted fabric bins on the bed frame’s underside. Her setup includes a mini-fridge drawer for energy drinks—yes, really.
Result: Featured on r/battlestations with 2.3k upvotes; RA stopped citing her for “excessive noise.”
FAQs About Gaming Rooms Under Bed
Is it safe to run a gaming PC under a bed?
Yes—if you maintain ≥6 inches of clearance around the case, use elevated stands, and monitor temps with HWInfo64. Never place PCs directly on carpet or bedding.
What’s the cheapest bed for under-bed gaming?
The IKEA SVÄRTA loft bed ($199) offers 36” clearance and holds 220 lbs. For platform options, look at Zinus Mia Metal (34” clearance, ~$160).
Can I use a laptop instead of a desktop?
Absolutely—and it’s often smarter. Laptops generate less heat, fit easier, and avoid complex cable runs. Pair with a USB-C hub and external monitor for best results.
Will dust ruin my components?
Dust buildup accelerates under beds. Combat with monthly cleaning using compressed air and anti-static brushes. Consider installing a MERV 8 filter over intake fans.
Do I need special lighting?
Yes! Overhead room lights cause glare. Use monitor bias lighting (soft white, 5000K) and optional footwell LEDs for ambiance without screen reflection.
Conclusion
A gaming room under bed isn’t just a clever space hack—it’s a legit solution for urban gamers, students, and anyone battling square-foot scarcity. But success hinges on respecting physics (clearance + airflow), ergonomics (no hunching!), and practicality (easy access > aesthetic clutter). Measure twice, cool thoroughly, and never sacrifice comfort for RGB density.
Done right, your under-bed setup becomes more than a gaming station—it’s a personal command center where every inch works as hard as you do. Now go forth, optimize that dead air, and may your frame rates stay high while your utility bills stay low.
Like a Tamagotchi, your under-bed rig needs daily care—minus the existential dread of digital pet death.