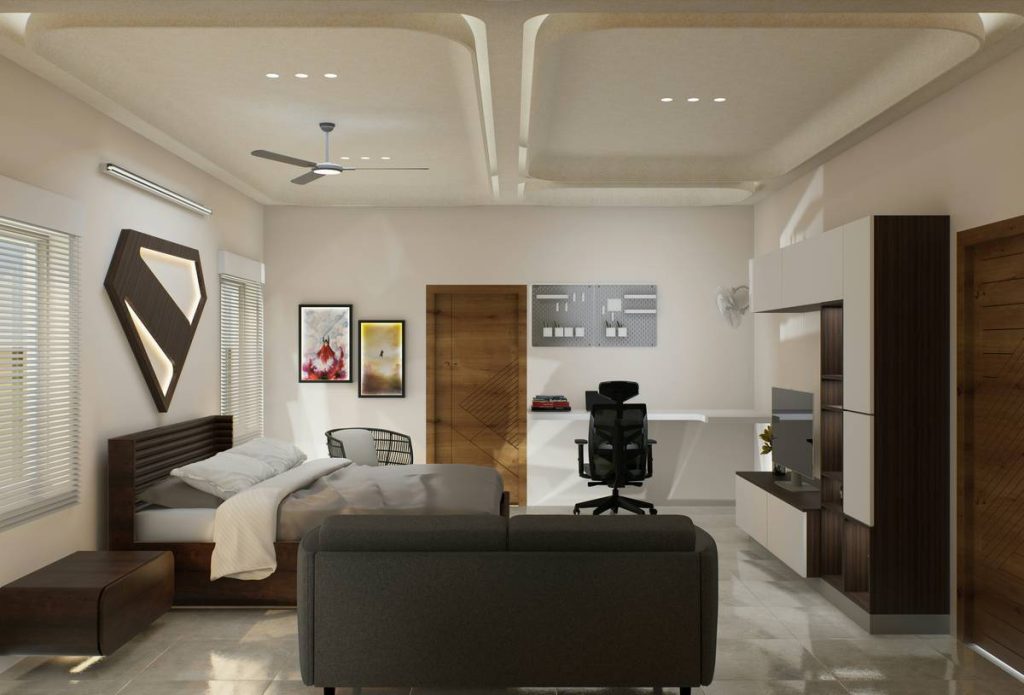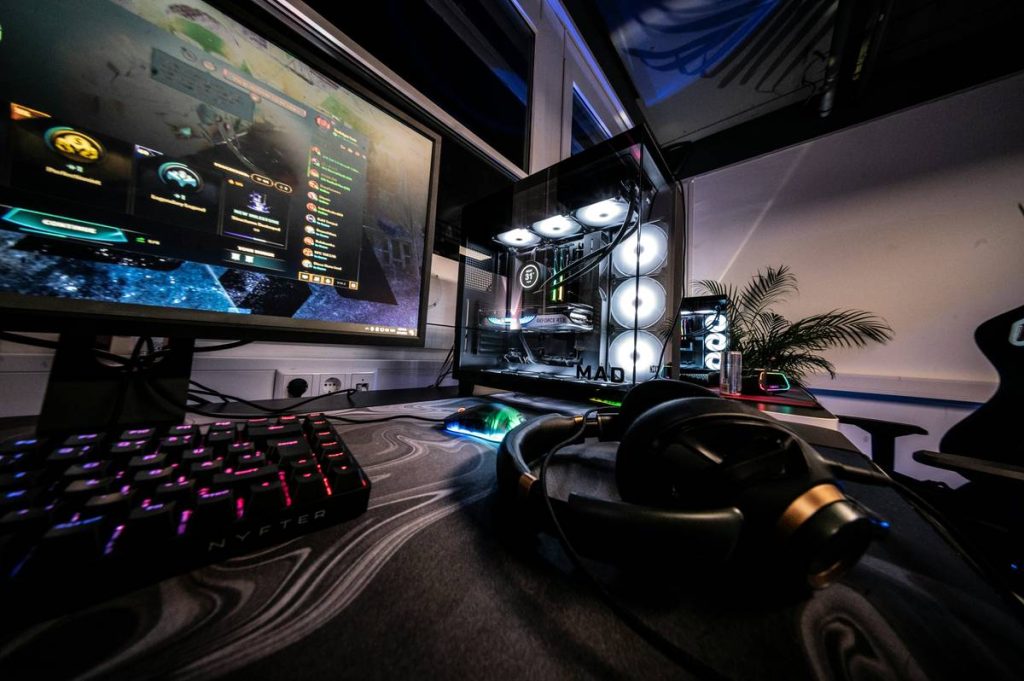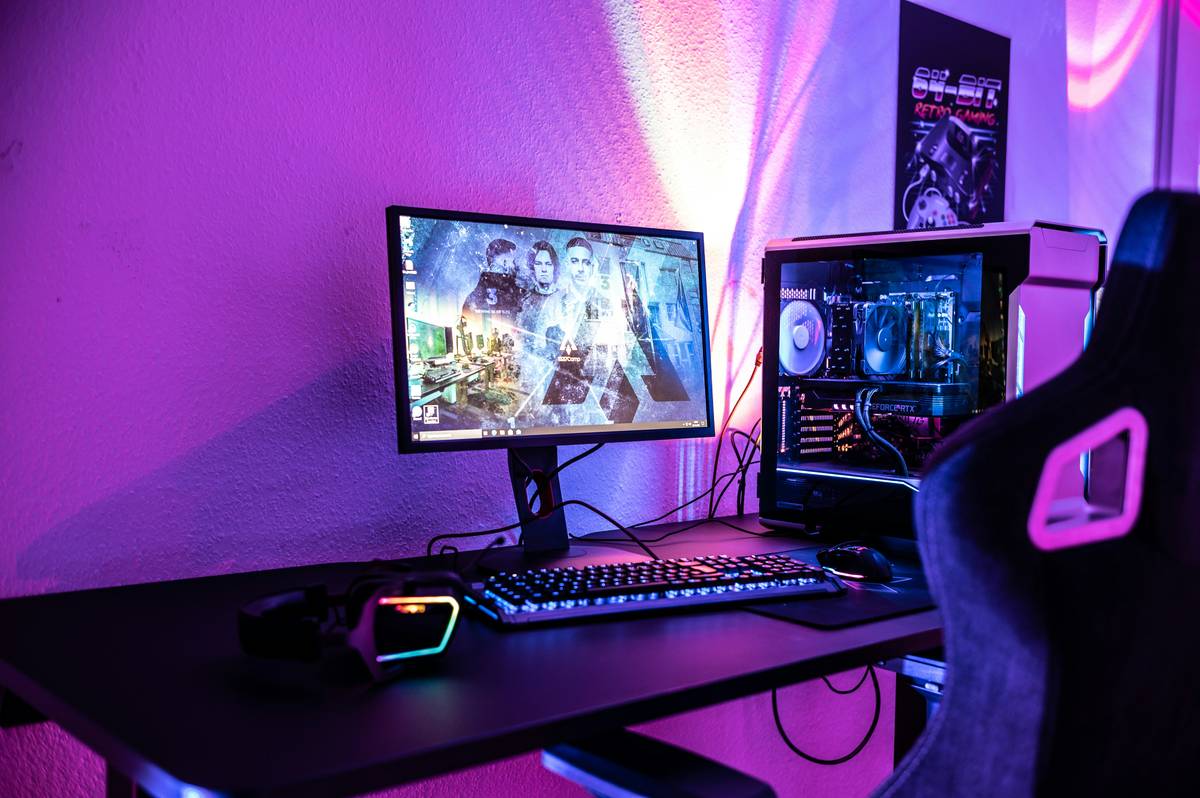
Your gaming den feels cramped. Cables snake across the floor. Your bed eats up half the space—leaving zero room for dual monitors, a full-size desk, or even decent airflow. You want immersion without sacrificing comfort. The answer? A gaming room with floating bed. It’s not sci-fi—it’s smart spatial engineering.
Why Traditional Gaming Setups Fail in Small Spaces
Most gamers cram everything into one corner: bed on the floor, desk against the wall, RGB strips haphazardly slapped everywhere. Then they wonder why their back hurts after six hours of Valorant.
Floor beds kill legroom. They trap heat. They force you to crawl under your rig just to charge your phone. And good luck routing cables when your mattress blocks access to outlets.
And honestly—how “pro” does it look when your controller charger is dangling off the edge of a twin bed covered in snack crumbs?
Building Your Gaming Room with Floating Bed: A Step-by-Step Blueprint
Forget Pinterest dreams. This is real-world execution—with cost control, structural safety, and cable management baked in from day one.
Select the Right Wall & Support System
Not every wall can hold 300+ lbs. Load-bearing walls only—stud finder non-negotiable. Use double 2×6 headers anchored into at least three studs. Lag bolts, not drywall anchors. Ever.
Go too cheap here, and your “floating” bed becomes a liability—not a flex.
Integrate Tech Without Sacrificing Clean Lines
Run HDMI, USB-C, and power conduits inside the bed frame during build-out. Install a recessed power strip underneath—accessible but hidden. Mount LED strips along the underside for ambient glow that doesn’t blind you mid-match.
Pro tip: angle your bed slightly upward (2–3 degrees). Better posture. Less neck strain. Feels like a cockpit.
Maximize Under-Bed Utility
This isn’t dead space—it’s prime real estate. Slide in a low-profile PC tower on casters. Or stash a mini-fridge for energy drinks. Some even install pull-out drawers for headsets, spare controllers, or merch collections.
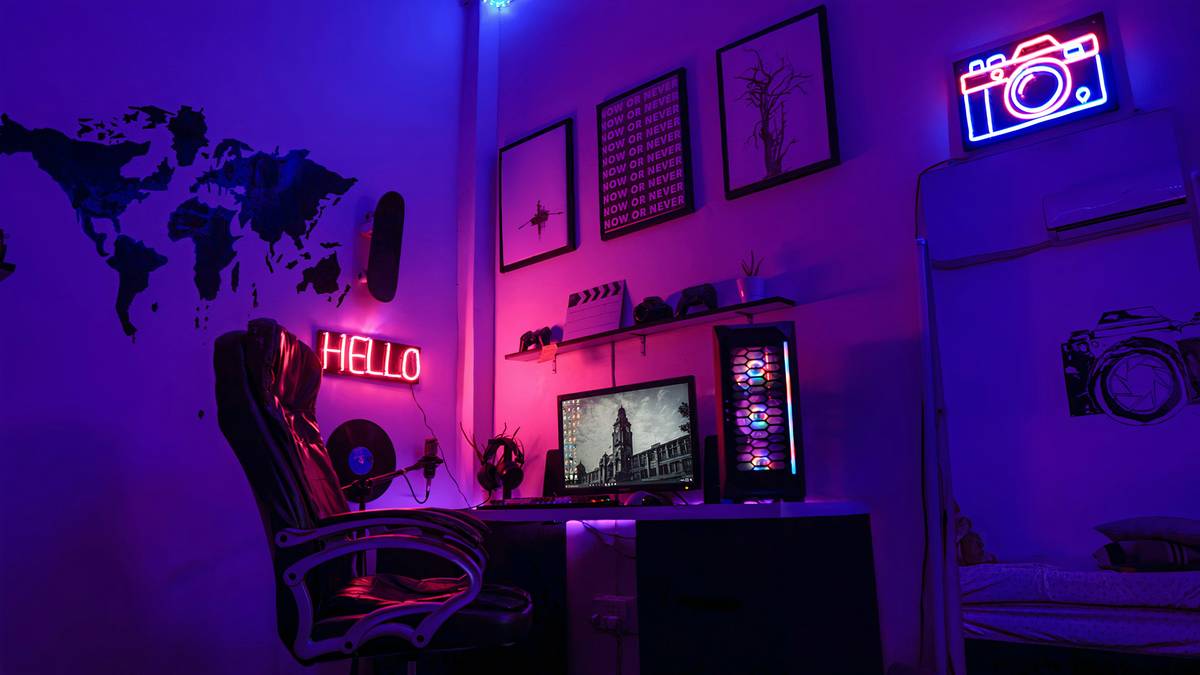
Cost vs. Functionality: Real Build Scenarios
| Approach | Average Cost | Build Time | Best For |
|---|---|---|---|
| DIY Wood Frame + Plywood Base | $450–$700 | Weekend warrior (2 days) | Budget builders with basic tools |
| Custom Steel Frame Kit (e.g., Urban Platform) | $1,200–$2,000 | 1 day (pre-fab) | Safety-first setups; renters (semi-permanent) |
| Luxury Modular System (Hydraulic Lift + Built-in PC Bay) | $3,500+ | 3–5 days (pro install) | Hardcore streamers & future-proofers |
The Industry Secret Most Builders Ignore
Here’s what no influencer tells you: vibration matters. When your subwoofer kicks on during explosions in Call of Duty, a poorly isolated floating bed will tremble—ruining focus and sleep later.
The fix? Decouple the bed frame from audio sources using rubber isolators or Sorbothane pads between metal joints. It costs $20. But it turns shaky chaos into silent stability.
Think about it—your bed shouldn’t shake when your bass hits. That’s not immersion. That’s poor acoustics bleeding into structural design.
Frequently Asked Questions
Is a gaming room with floating bed safe for daily use?
Yes—if built correctly. Anchor into load-bearing walls with proper hardware. Avoid decorative brackets; they’re for shelves, not 300-lb loads.
Can I install a floating bed in a rented apartment?
Only with landlord approval. Use removable steel frame kits that don’t require permanent wall modifications. Always restore original condition upon move-out.
How high should the bed float off the ground?
Aim for 36–42 inches. Enough clearance for a full-sized gaming chair to slide under comfortably—and room for under-bed storage or PC placement.